
Balancing Board Safety Tips: Protecting Yourself During Workouts
Balancing boards provide an effective full-body workout, but the unstable surface can also lead to falls and injuries if proper precautions aren’t taken. By following


Store-bought balancing boards can be expensive, costing anywhere from $50 to over $200. But with some simple tools and materials, you can make your own high-quality rocker board or wobble board at home for a fraction of the cost.
This step-by-step DIY guide covers everything you need to know to build your own custom balancing board that will provide an effective full-body workout.

Building your own balancing board offers many advantages:
Even if you don’t consider yourself “handy,” this is a very achievable project using basic tools and skills. Follow the steps below and you’ll have a professional-quality balance board that costs a fraction of the retail price.
Constructing a DIY balancing board only requires a few key materials readily available at your local hardware store or lumber yard.
You don’t need an extensive woodworking shop to build a DIY balancing board. Here are the basic tools required:
If you don’t own some of these tools, see if you can borrow from friends or family. This project is very doable with minimal specialized equipment.
Follow these step-by-step instructions to turn basic materials into your own custom balancing board for fitness:
Follow those 10 simple steps and you’ll have a versatile wobble board or rocker board for fitness training for a fraction of the cost of commercial options. Building your own creates a quality board you can be proud of.
Part of the beauty of a DIY balancing board is you can customize it to suit your needs and preferences:
Don’t be afraid to get creative with your own signature design elements! The possibilities are endless.
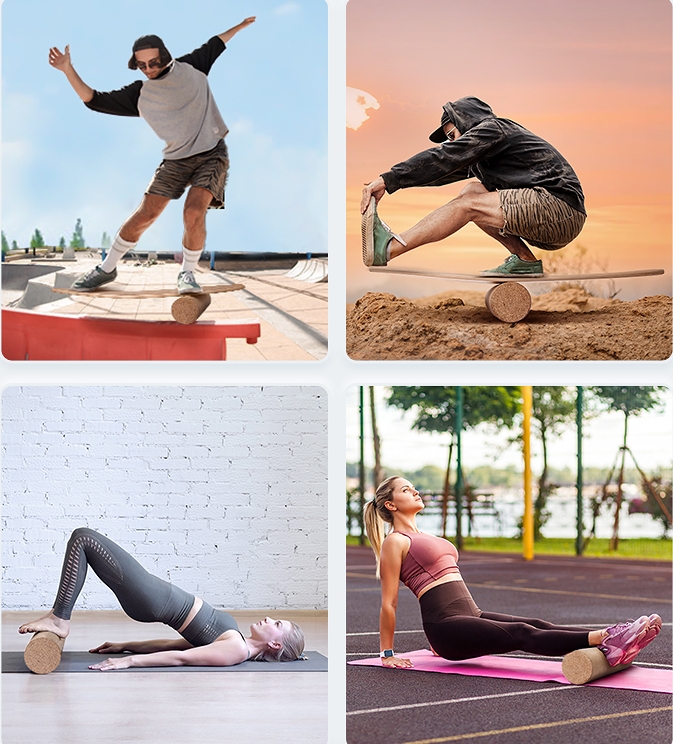
A quality DIY balancing board will provide the same excellent full-body workout as a store-bought model. Here are some exercise ideas to try on your creation:
The unstable surface will challenge your core, legs, arms and overall balance. Start slowly and work up to more dynamic movements over time as your coordination improves. Just be sure to use the board on a padded surface for safety.
Follow this timeline for progressively more challenging workouts as you get comfortable on your homemade balancing board:
Be patient and listen to your body as your balance improves. It takes 4-6 weeks to engrain new motor patterns.
With proper care and storage, a DIY balancing board can provide many years of reliable use:
Simple periodic maintenance will keep your homemade board looking and performing like new. Enjoy the fruits of your woodworking labor!
Building your own balancing board is an immensely rewarding weekend project. Follow this guide and soon you’ll have a high-performance fitness tool tailored to your needs for a fraction of the retail cost. Get ready to wobble on your own creation!

Balancing boards provide an effective full-body workout, but the unstable surface can also lead to falls and injuries if proper precautions aren’t taken. By following

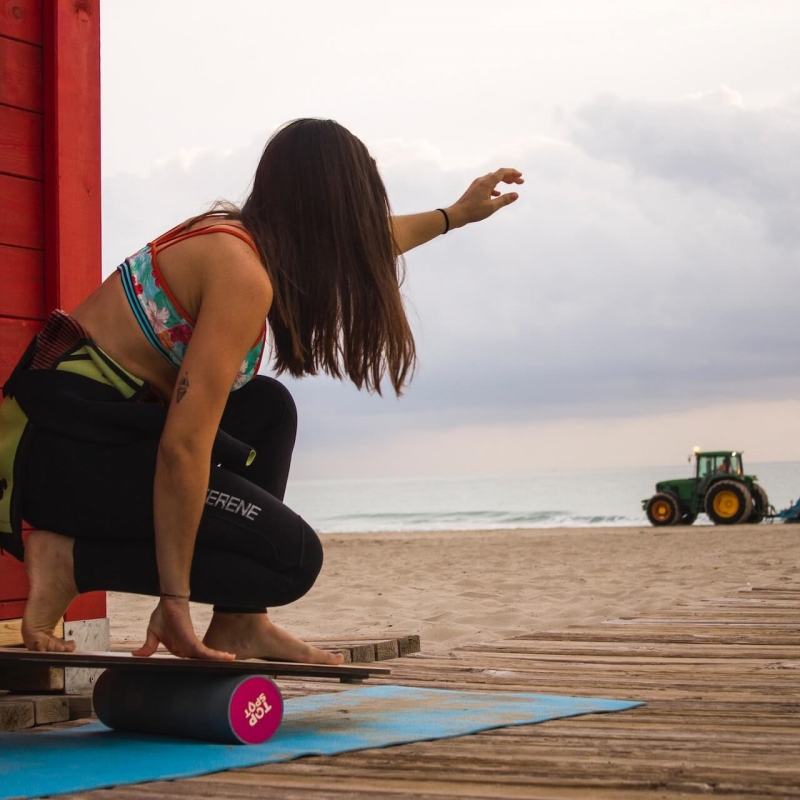
So you’ve mastered the basics of balancing on a rocker or wobbleboard. You can tilt and pivot with ease. Now you’re ready to take your

Balancing board training has become a popular way to challenge your coordination and engage those all-important core muscles. Unlike stable machines at the gym, balancing

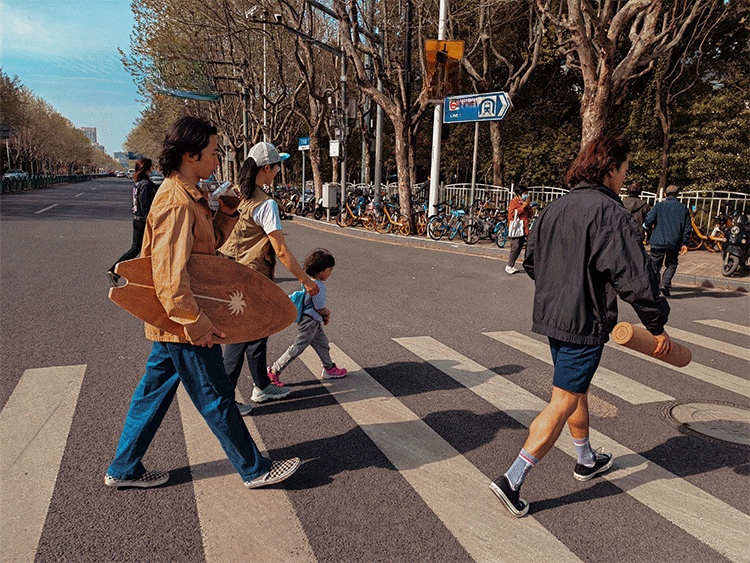
Balancing boards, also known as balance boards or wobble boards, have become incredibly popular workout tools in recent years. These unstable platforms provide a fun

Balancing boards provide an effective full-body workout, but the unstable surface can also lead to falls and injuries if proper precautions aren’t taken. By following
So you’ve mastered the basics of balancing on a rocker or wobbleboard. You can tilt and pivot with ease. Now you’re ready to take your
Store-bought balancing boards can be expensive, costing anywhere from $50 to over $200. But with some simple tools and materials, you can make your own
Balancing board training has become a popular way to challenge your coordination and engage those all-important core muscles. Unlike stable machines at the gym, balancing